


Golden Bears Wi-Fi: iOS 12.1 and earlier
golden bears wi-fi: Instructions for iOS (version 12.1 and earlier)
Note: The instructions below are for all devices running iOS 12.1 or earlier. If your iOS device is running a later version, go here for the correct instructions.
1. Connect your wireless device to an open network like ResNet WiFi or BearNet.
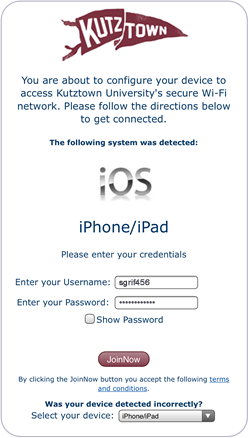
2. Open a browser and go to securewifi.kutztown.edu. Enter your KU username and password and click JoinNow. (Note: Be sure to enter your KU username and NOT your entire KU email address.)
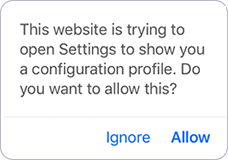
3. Click Allow.
4. Click Install to begin the certificate profile installation/configuration.
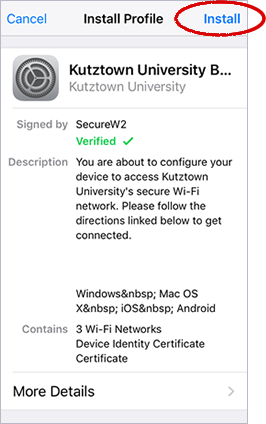
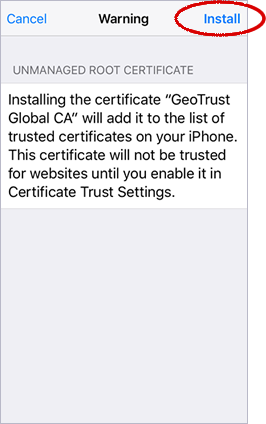
5. Click Install again to bypass the warning.
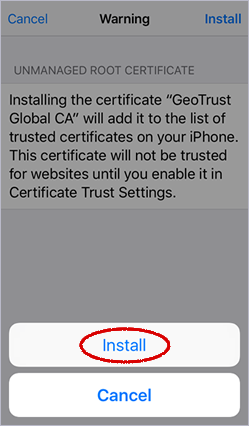
6. Click the Install button.
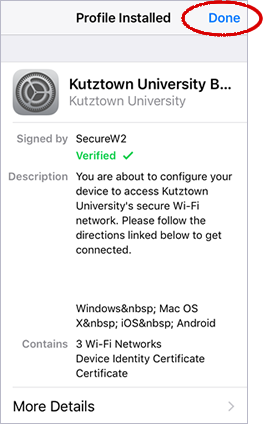
7. When your device has finished generating a security key, enrolling the certificate and installing the profile, click Done.
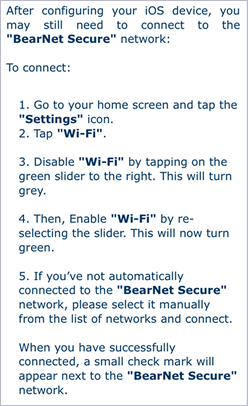
8. Your iOS device should switch automatically to Golden Bears. If it doesn't, follow the instructions.