


Golden Bears W-Fi: macOS
golden bears wi-fi: Instructions for macOS
1. Connect your wireless device to an open network like ResNet WiFi or BearNet.
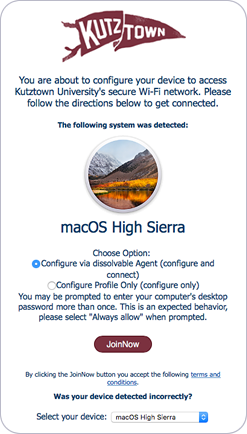
2. Open a browser and go to securewifi.kutztown.edu. Click JoinNow.
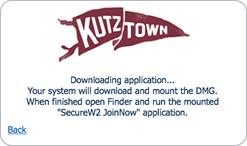
3. A small disk image file (DMG) containing the security certificate profile installer will be downloaded to your Mac.
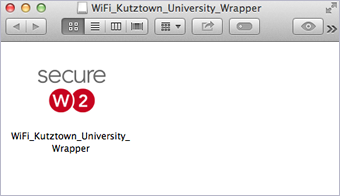
4. Open the downloaded DMG and double-click the SecureW2 installer.
5. Enter your KU username and password and click Next. (Note: Be sure to enter your KU username and NOT your entire KU email address.)

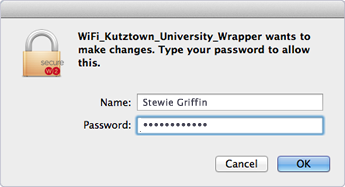
6. Enter the Administrator name and password for your computer (not your KU username and password) to allow the installer to run.
7. You may be prompted for the Administrator password more than once so that the certificate profile can be added to the keychain. If that happens, enter the password and click Always Allow.

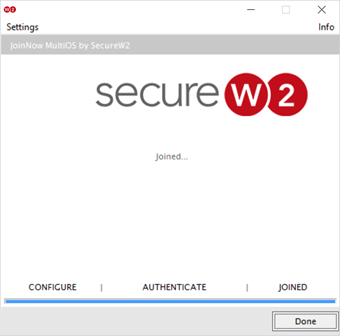
8. Upon completion, your Mac should switch automatically to Golden Bears. Click Done.